
sourdough
In 2024, The Bronwood Bakery introduced our Sourdough Starter Kits in our efforts to promote sourdough bread baking in more of our homes. Our kits are dehydrated active sourdough starter that has been dried on a low temp, then ground to a powder. If you are not already baking and consuming sourdough bread, our humble kit will walk you through the process so that you can get started on your sourdough journey. You can purchase one of our kits and use the information below to guide you. Keep in mind, the information nowadays on sourdough has grown exponentially, especially during and after the pandemic! Much more so than when we started in 2015.
Here's to you establishing your process and your rhythm! Be patient, have fun, enjoy and welcome to sourdough!
rehydrating the bronwood bakery sourdough starter
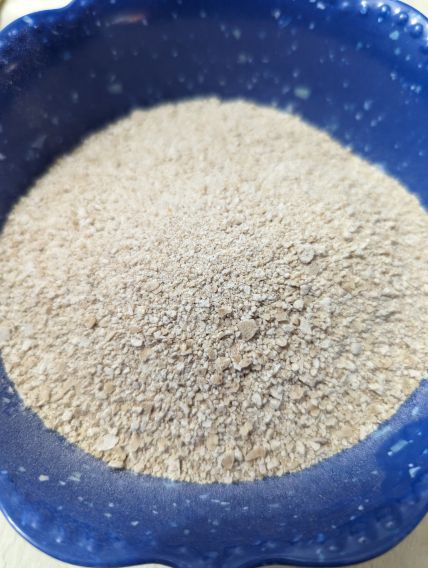
supplies needed
Let me tell you what I used and then you can choose for yourself, based on what you already have available in your home.
-
16 ounce (pint size, wide mouth if you have it) mason jar with a lid
-
Flour
-
Water
-
Measuring Spoons: Tablespoon, 1/2 Tablespoon, Teaspoon
-
Measuring Cups: 1/3 Cup, 1/4 Cup
-
A Kitchen Scale
You will feed your Sourdough Starter Powder listed amounts of Water and Flour over a 5 Day period. On Day 6, you will feed your Healthy, Active Starter enough Water and Flour to produce one 2 pound loaf of Delicious and Nutritious Sourdough Bread. Happy making, Happy Baking!
day 1
Your Bronwood Bakery Sourdough Starter Kit contains 1 Tablespoon of powder. You will only need 1/2 Tablespoon to begin
Your Bronwood Bakery Sourdough Starter Kit contains 1 Tablespoon of powder. You will only need 1/2 Tablespoon to begin your Sourdough Starter, so don’t use it all at once! You have enough powder for 2 attempts. If you are successful with your first serving, you can put the rest up in an airtight container.
To your mason jar add:
-
1/2 Tablespoon of Sourdough Starter.
-
1 and 1/2 Tablespoon of water, mix (a fork will do), apply the lid (does not have to be tight), and let sit for approximately 30 minutes to give the powder a chance to begin rehydrating before you add your flour.
-
After the 30 minutes, add 1 Tablespoon of flour, mix well scraping down the sides as much as possible. Apply the lid.
On measuring flour with your teaspoons and tablespoons you don’t have to level off the tops, we didn’t. Just don’t heap your spoons when measuring. It’s not that serious, yet. Once you mix your starter and put on the lid, sit it in a warm spot (the top of your fridge is good) until the next feeding.
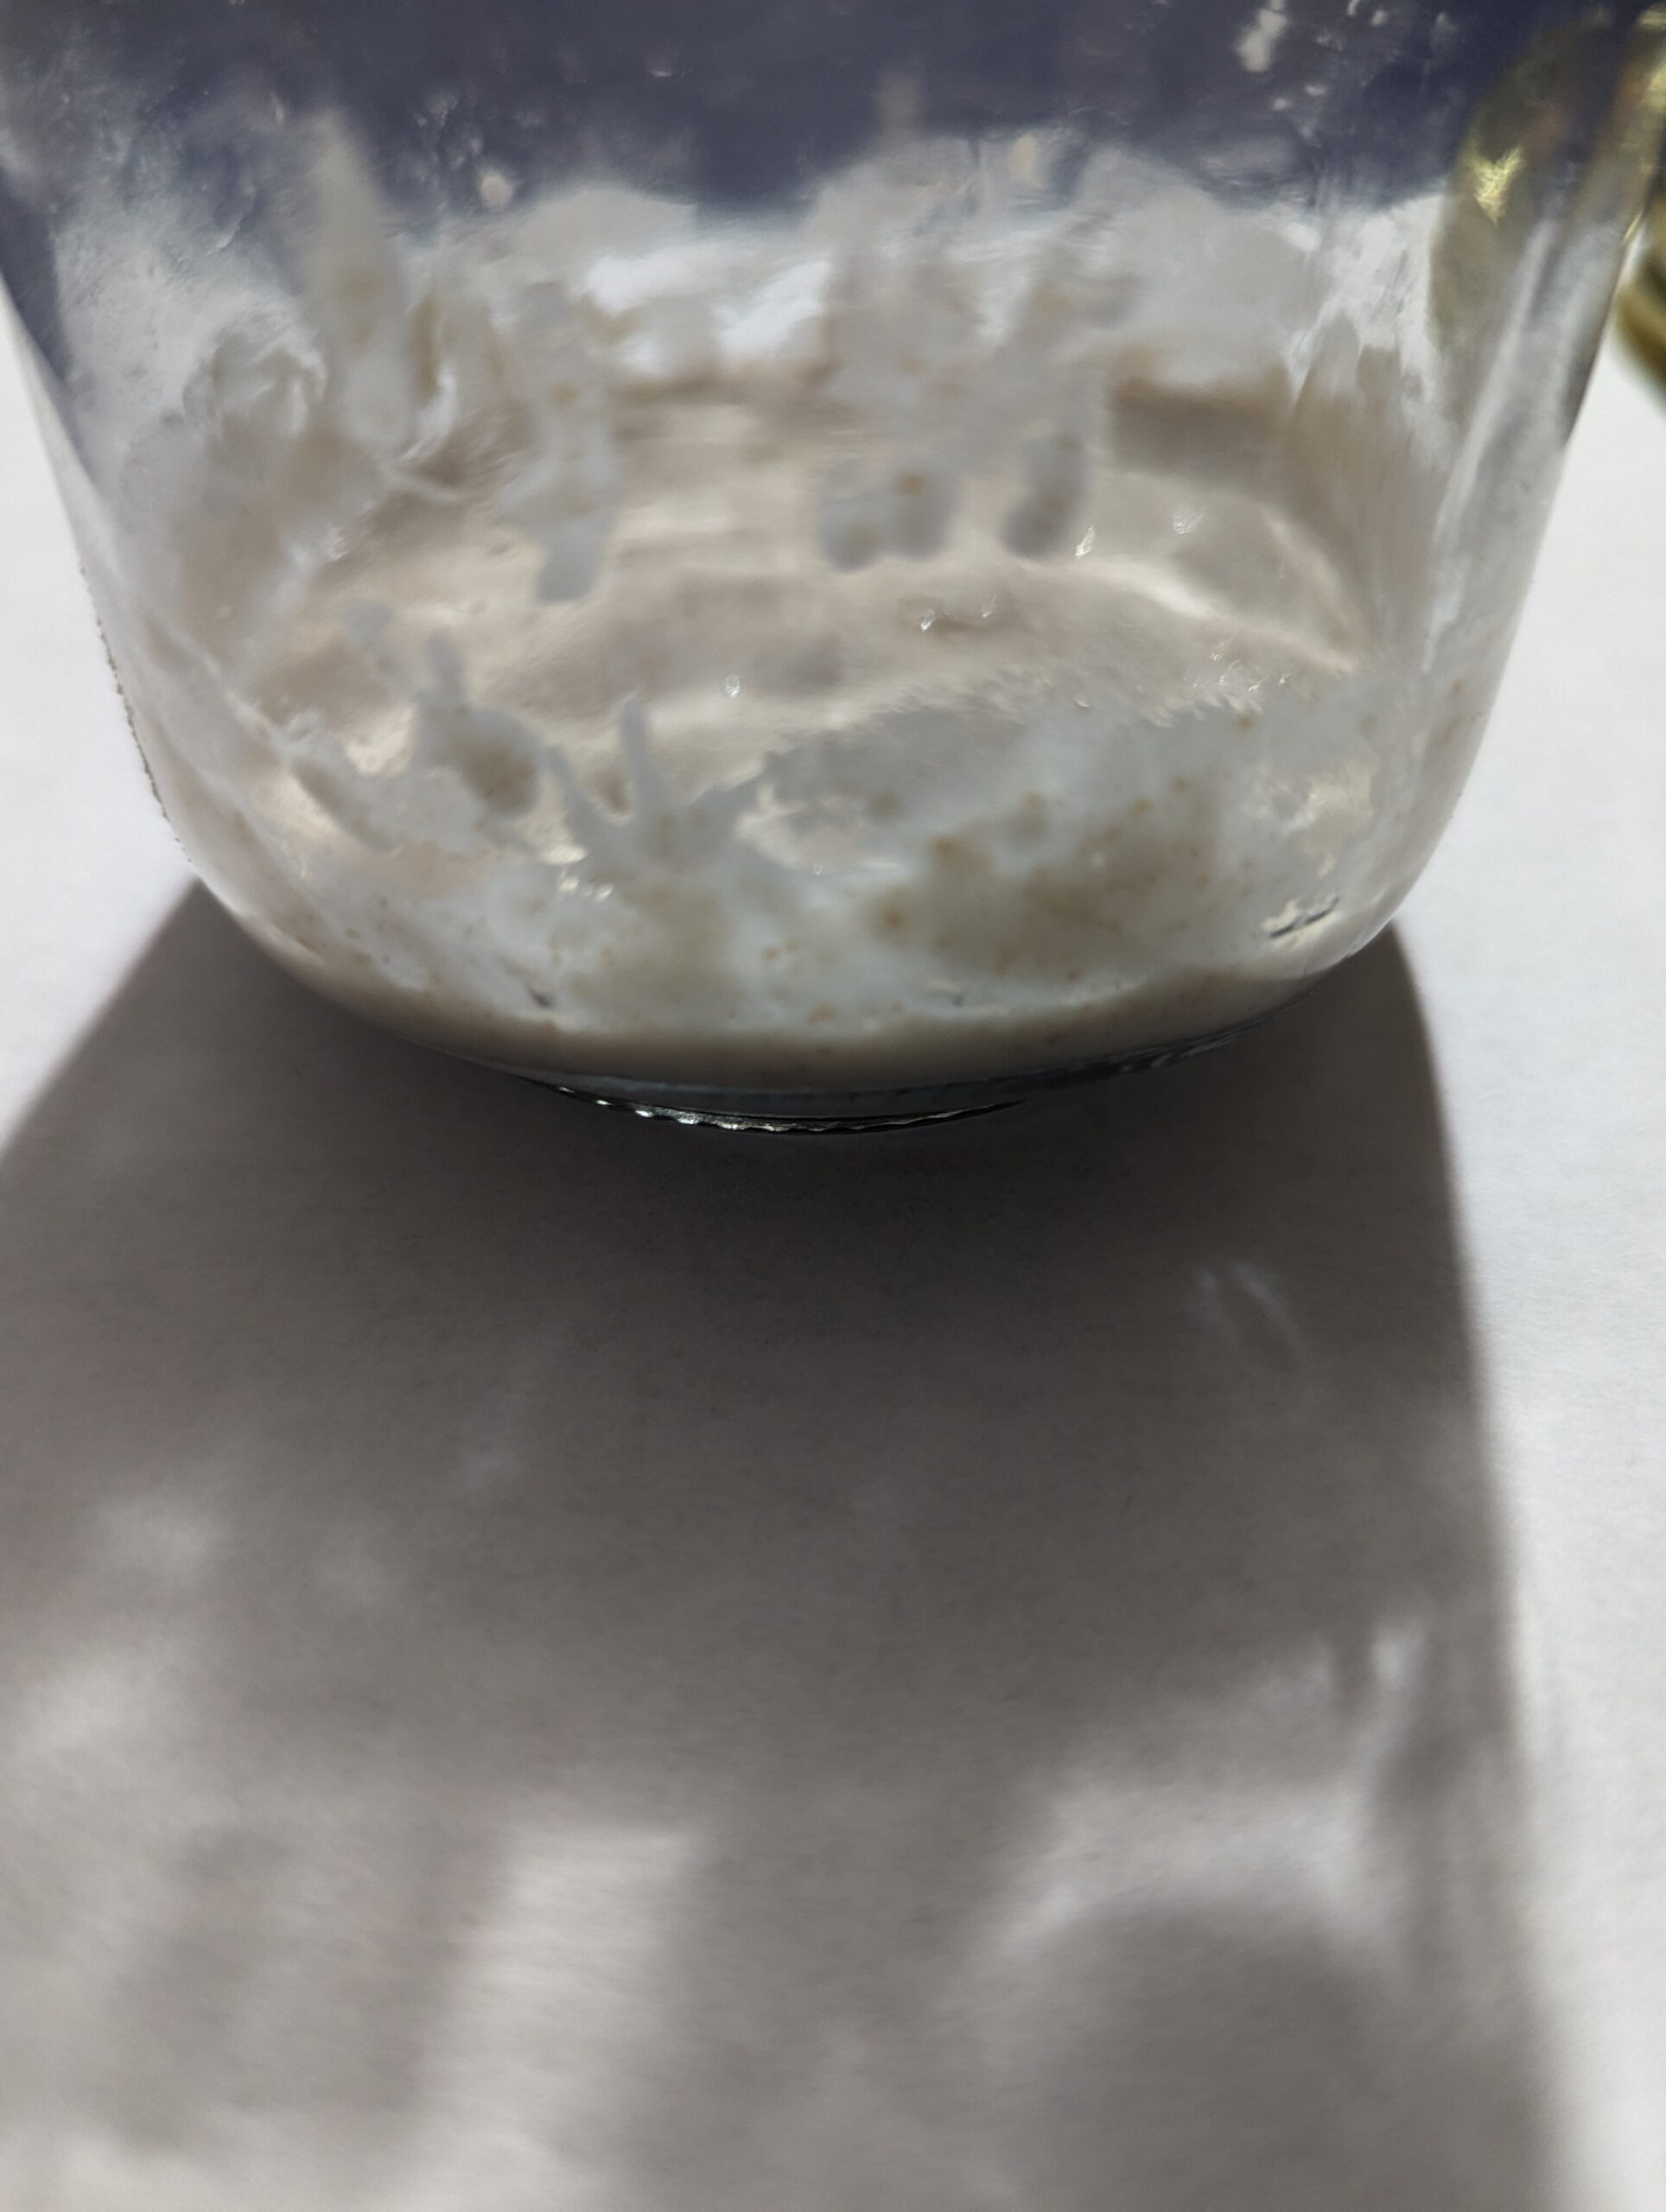
Notes:
Feeding – Once every 24 hours. Whatever time you feed, you will feed the next day at the same time. So pick a starting time that’s convenient for you.
Flour – We feed our starter with a 50/50 blend of Muhammad Farms Whole Wheat Flour (MFWW) and Organic All Purpose Unbleached, Unenriched Flour (AP). Your Dehydrated Starter is both AP and MFWW.
Water – We are on well water and have rehydrated our Sourdough Starter powder with well water and bottled water, no problem. I would suggest using filtered or bottled water throughout the rehydration process if you are on city water or your water contains chlorine.
day 2
On Day 1 we added more water than flour, again, giving your starter powder a chance to rehydrate. As time goes, we will get closer to a 100% hydration (equal amounts of water and flour), to build up your starter.
-
Add 2 Teaspoons of water, mix.
-
Add 1 Tablespoon of flour. Mix well.
-
Put on the lid and return to your warm spot until the next feeding. Remember feeding time should be the same time every 24 hours.
When mixing, make sure you get all of your flour mixed in so that it is hydrated. Scrape down the sides as much as possible.
Notes:
1 Teaspoon of water is approximately 5 grams
1 Teaspoon of flour is a little over 3 grams
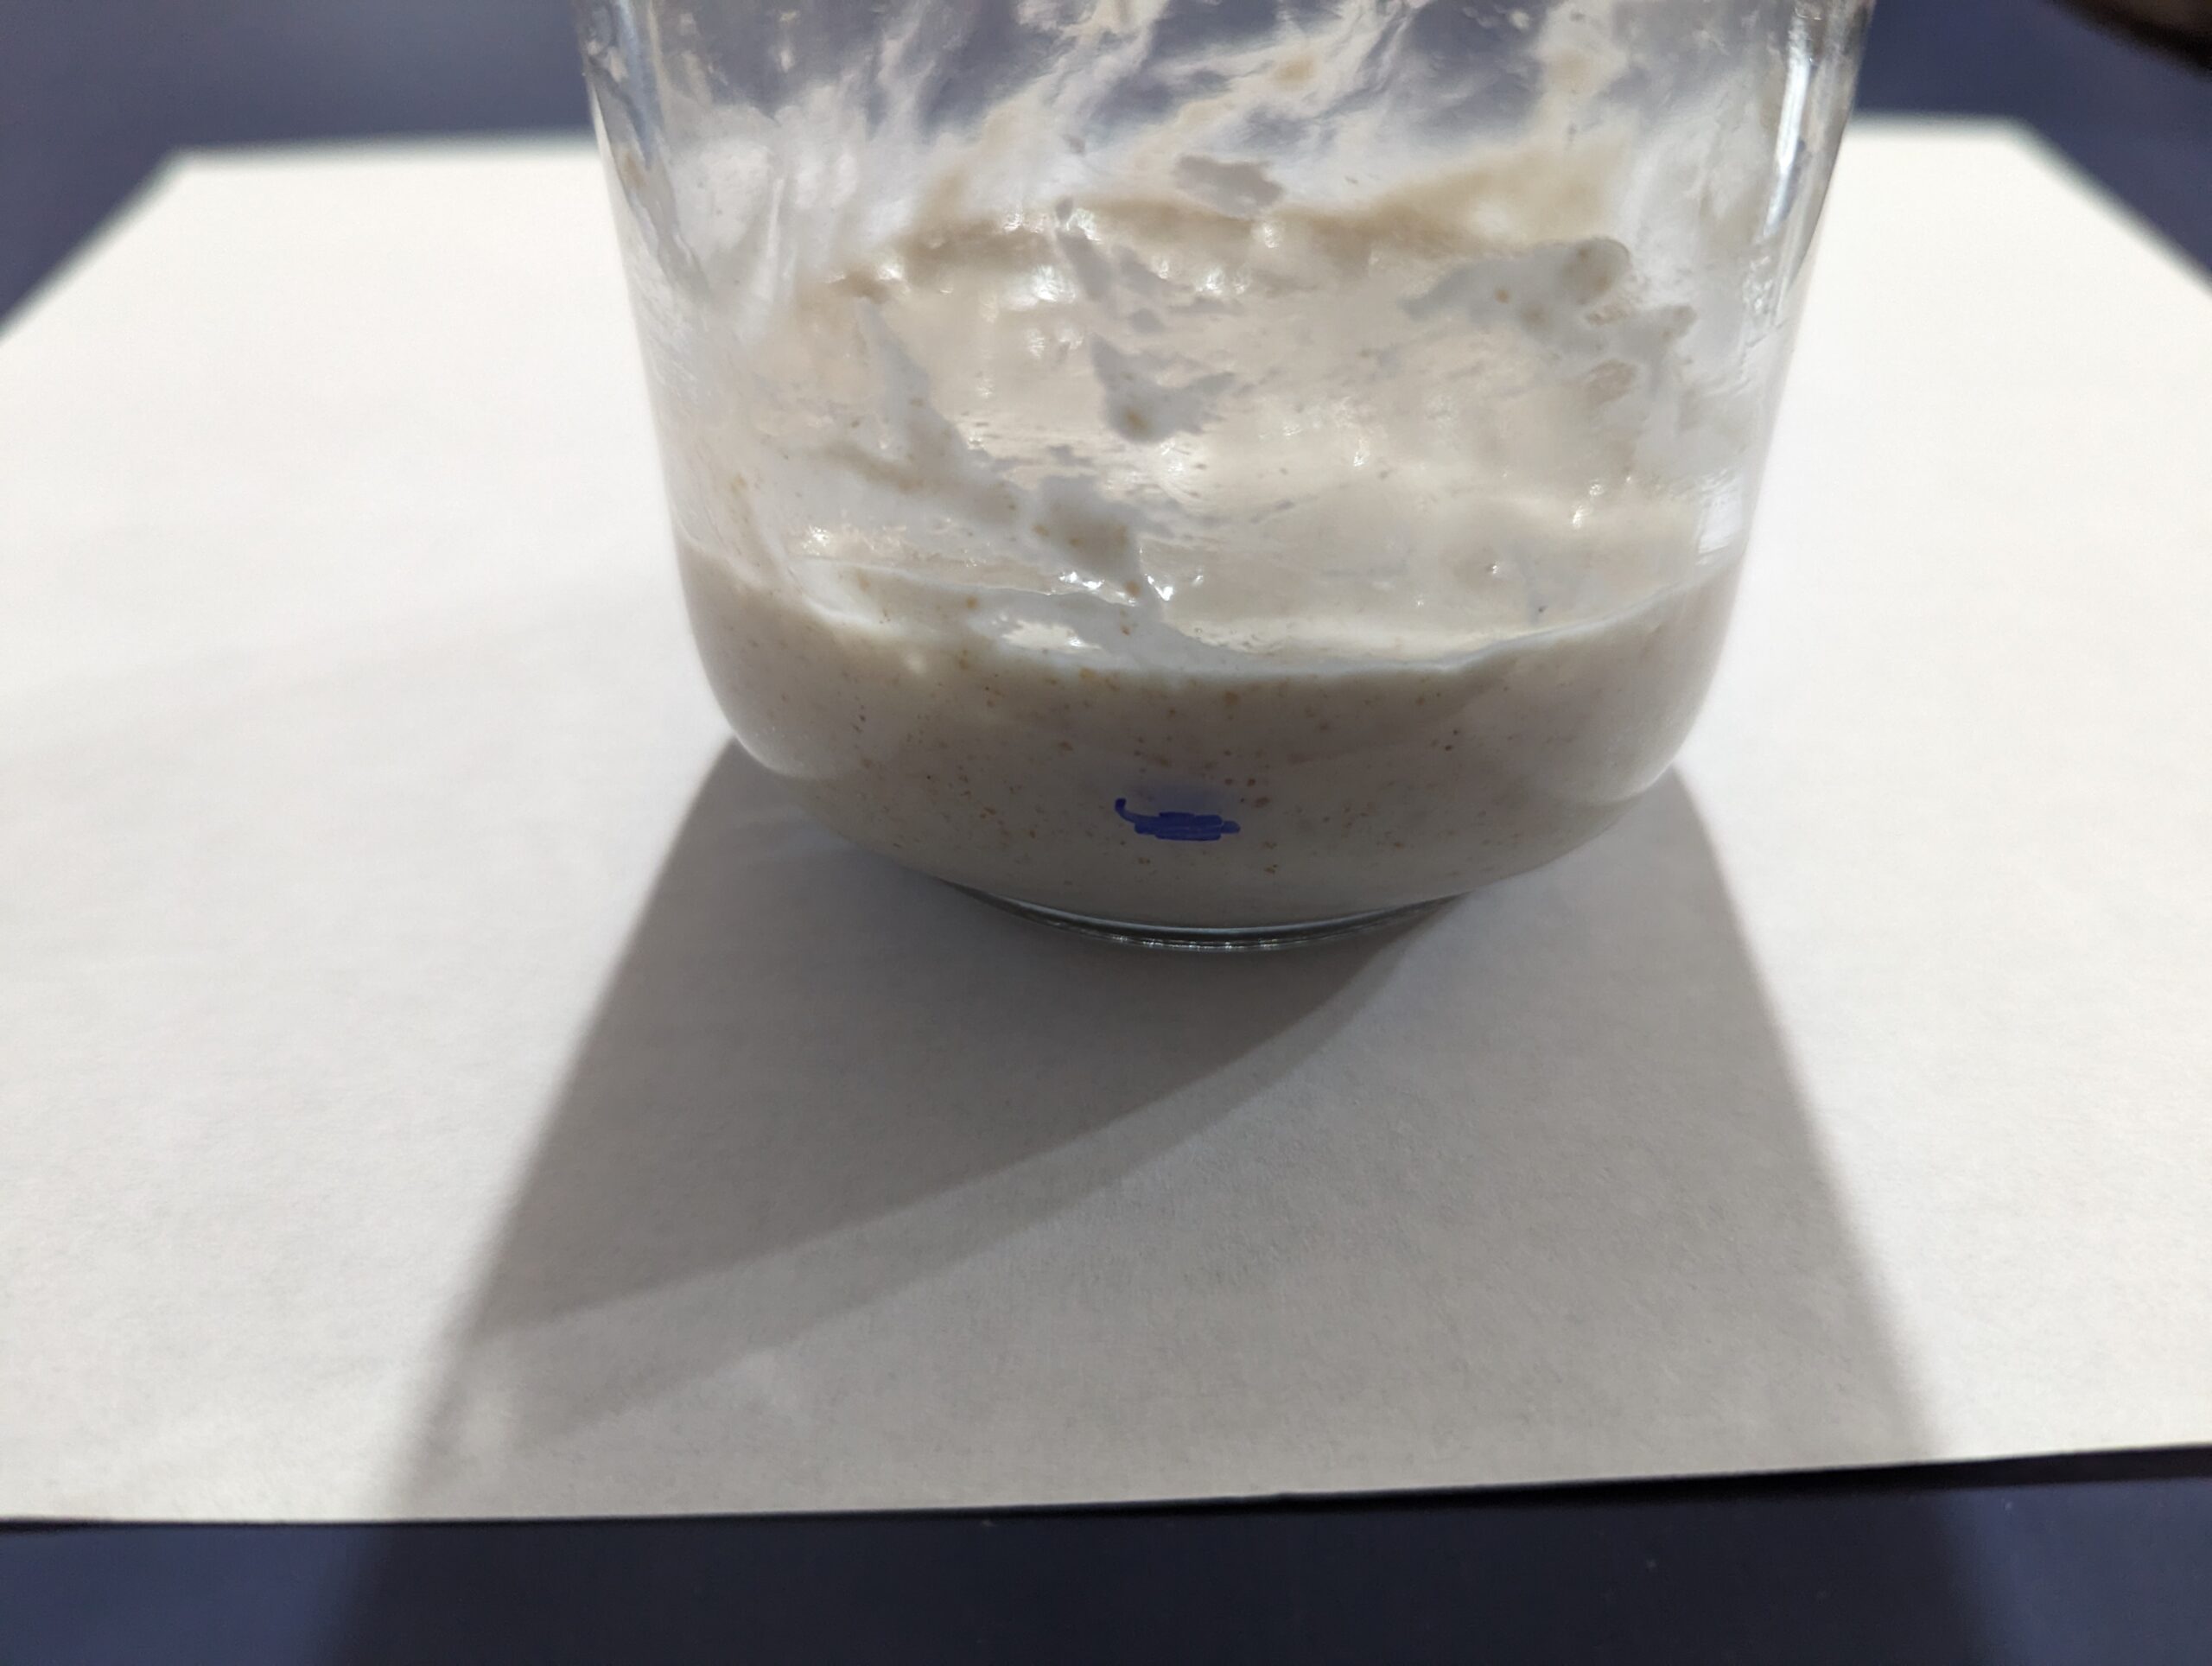
The picture shows how the starter has doubled in size just 5 hours after feeding on Day 2. Amazing!
day 3
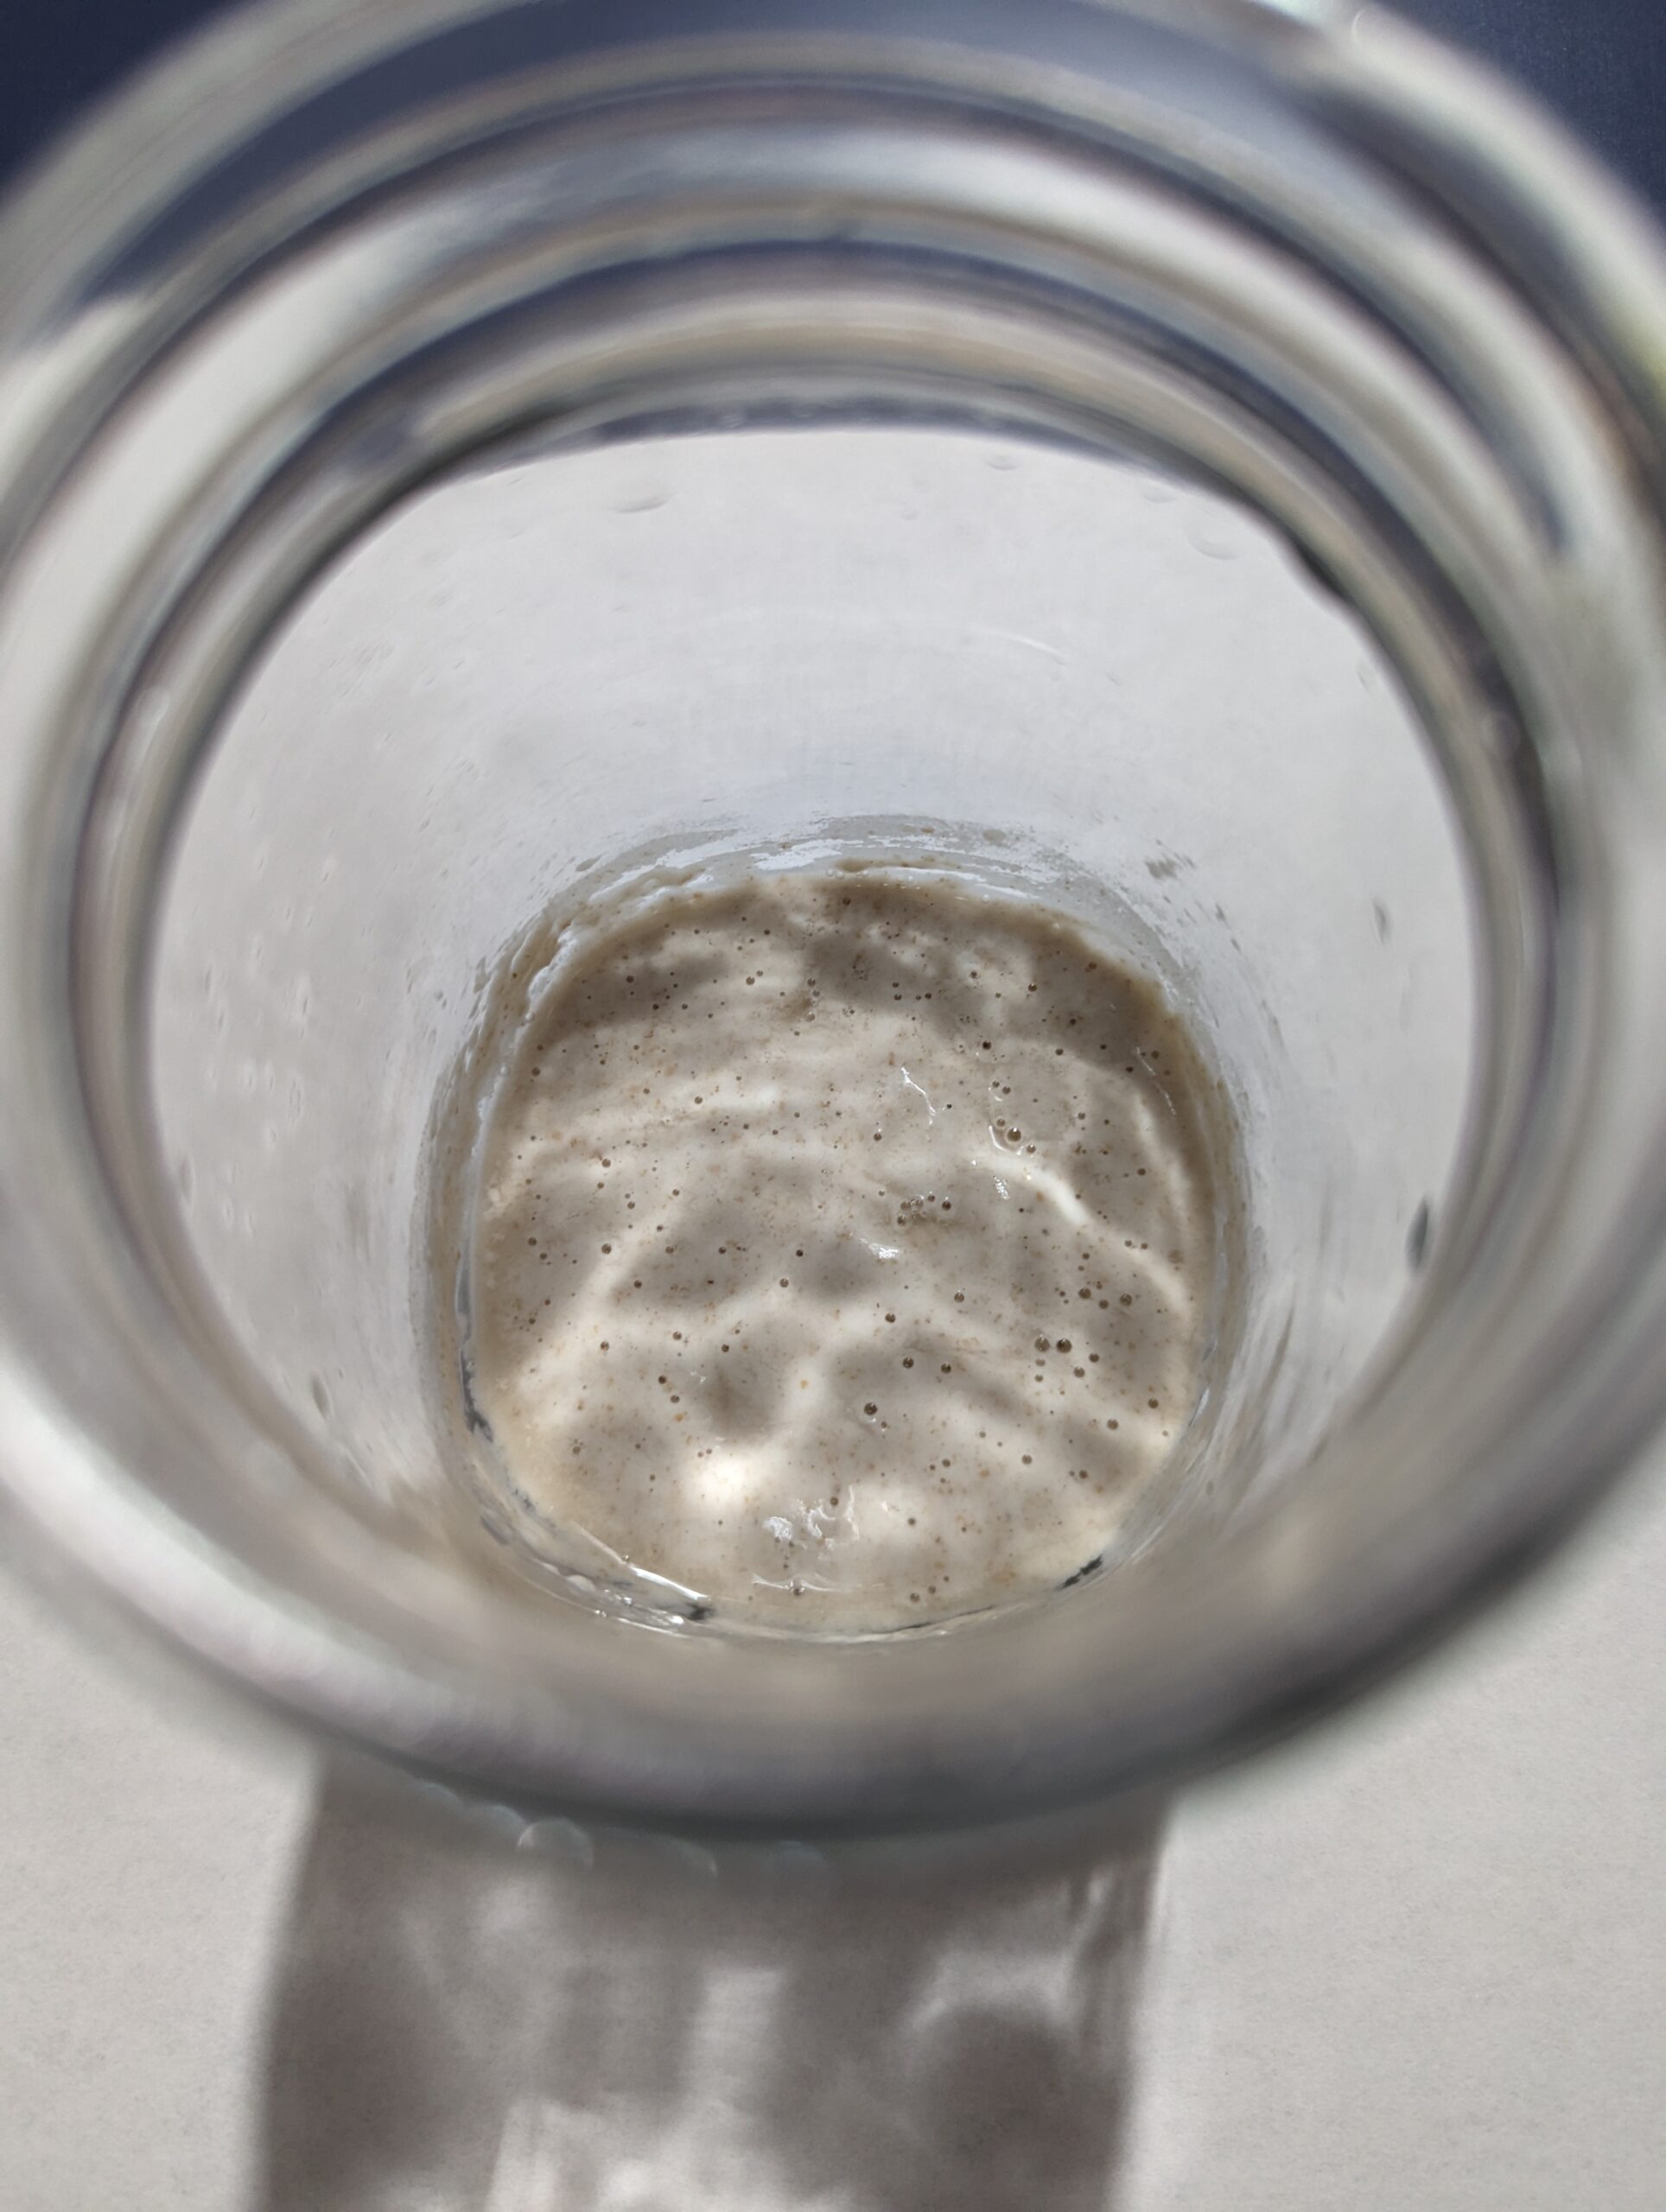
What’s the saying? Wash, Rinse, Repeat? Day 3 is a complete repeat of Day 2.
-
Add 2 Teaspoons of water, mix.
-
Add 1 Tablespoon of flour. Mix well,
-
Put on the lid and return to your warm spot until the next feeding.
Done!
day 4
Now it starts to get exciting because we are getting closer to having a revived, active starter to begin making bread. Yaay!
If you are already baking sourdough, thumbs up to you! If not, we pray this helps you get into it because it is a better bread for your digestive system and it is amazingly good bread. Soft and crunchy good!!! We like ours toasted!
Look at Day 4!
-
Add to your starter 2 ounces of water and 2 ounces of your flour mix. That is approximately 1/3 cup of flour and 1/4 cup of water.
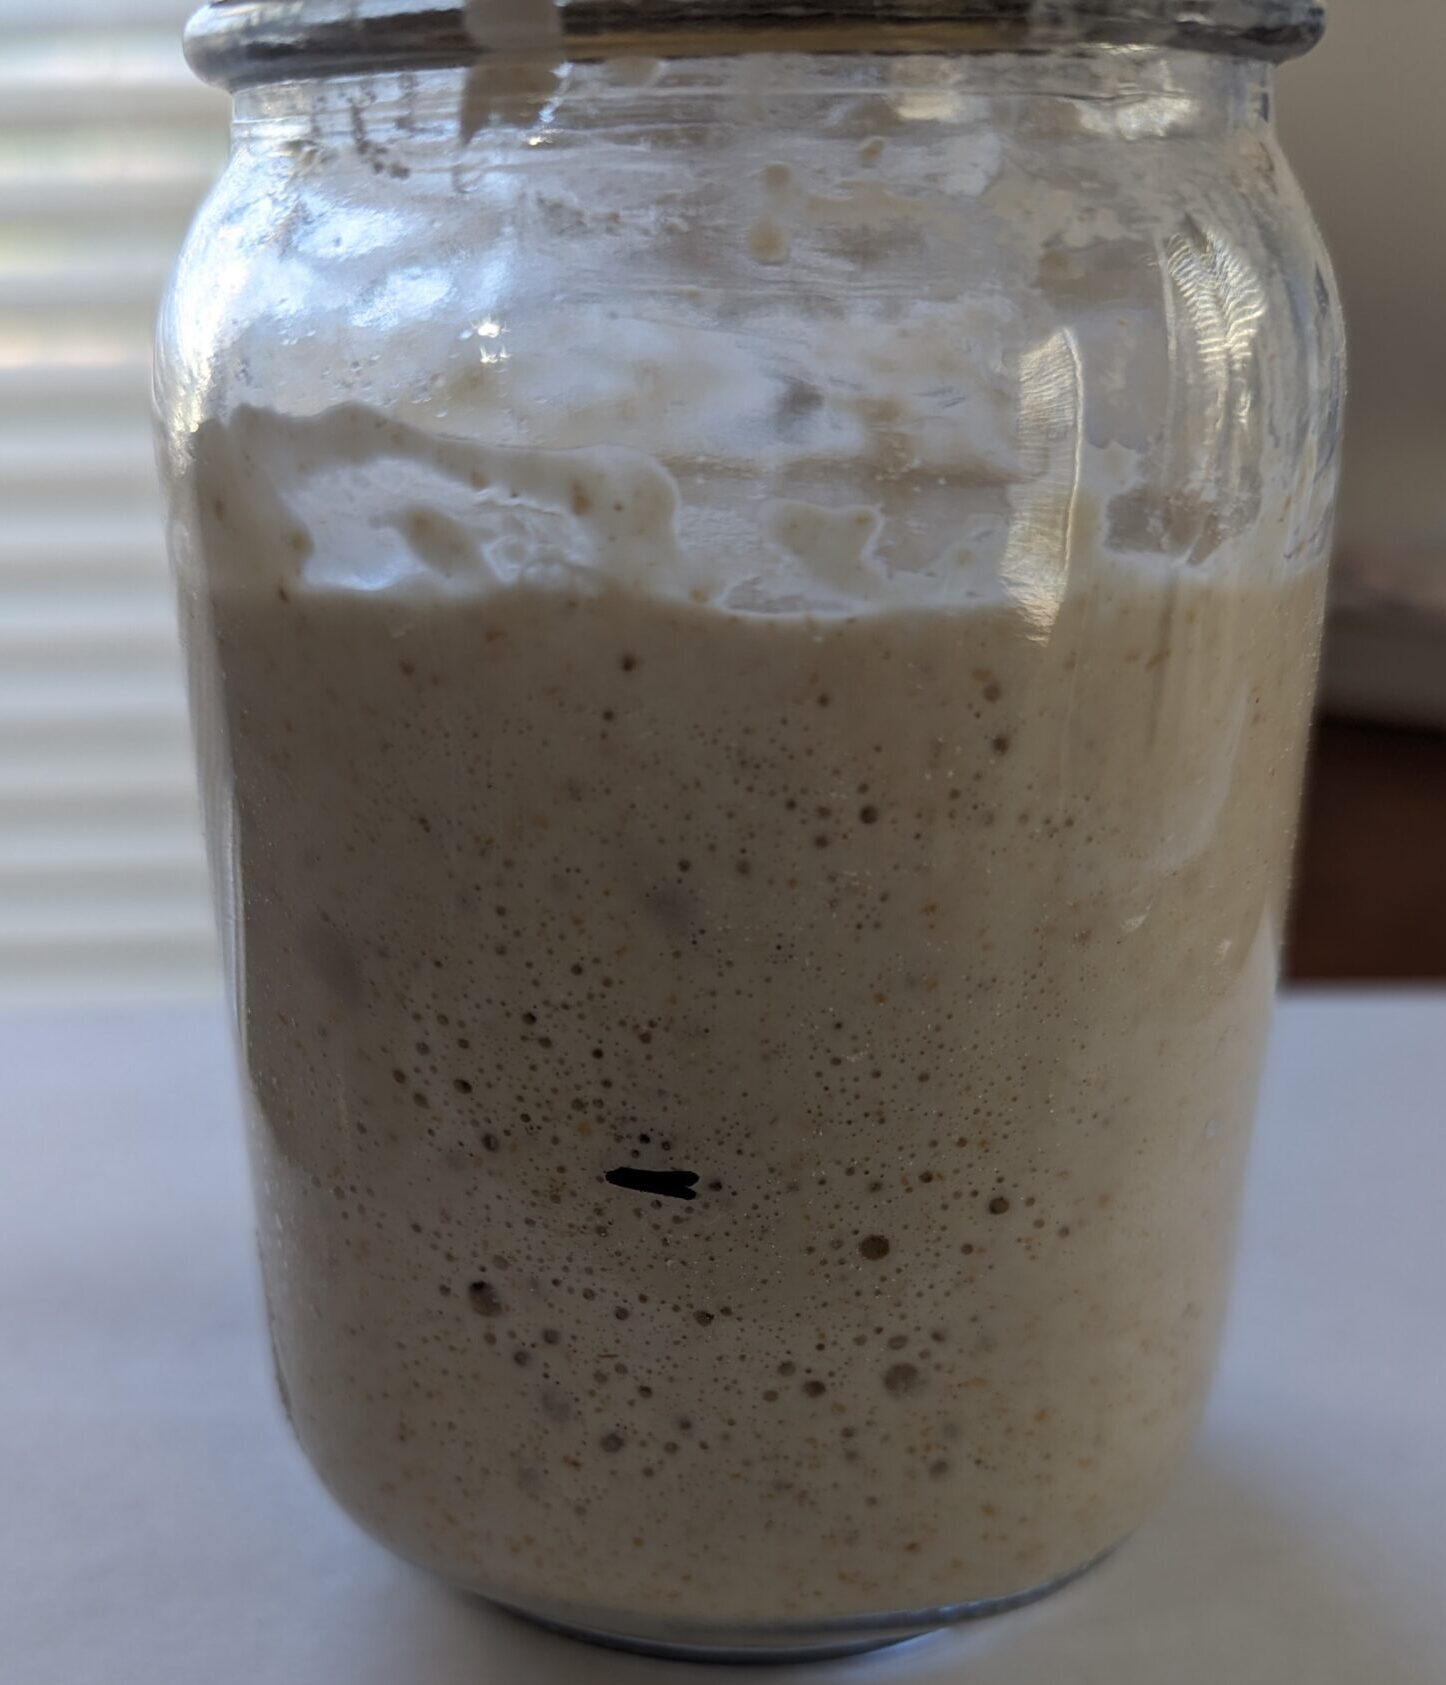
Notes:
Using a kitchen scale allows you to be right and exact. Not to mention the bread making recipe we are going to share at the end requires a scale. Level up! Get a scale if you don’t already have one. Please!
Wow! This starter is on fire, ready for some bread making!
day 5
You made it! More importantly, your Starter made it!! Give yourself a big High 5 !!
If for any reason you didn’t get to this point and you did “everything” advised, for real, give us an email (thebronwoodbakery@gmail.com) before you try again with your remaining 1/2 Tablespoon of Starter Powder. We want you to Succeed!
It’s time to build a bigger house! The more food fed, the more your starter will expand, grow. You see how high it got on Day 4, with Day 5 feeding, it will be too much for the pint jar. Remember, throughout this process we have not discarded any of the contents of your starter. It is time to get a larger jar or a ceramic crock if you have one. We used a sturdy food storage container with a lid.
Scrape all of that good starter you have built up in the last 4 Days out of the jar into your new container. Since you are going to add water, put the amount of water you are going to add into your jar and swish around to get all of that good yeast out. You can use that as your water. Remember you are using non-chlorinated water. Use Filtered, Bottled, or Well. Not city tap, unless you have been using it no problem making wonderful bread! Do what you Do!
To your newly housed Starter
-
Add 4 ounces of water (approximately 1/2 cup). Use your water mixture from your jar. If it’s not 4 ounces just add some water to make 4 ounces. Mix well.
-
Add your 4 ounces of flour (approximately 1 cup). Mix well.
-
Cover and return to that warm spot that has supported your Starter over the last few days.
On Day 6 when you feed, you will feed for the purpose of making bread!
day 6
Welcome to Day 6. Let’s make Bread!
We have to introduce an important word in the world of sourdough, because it is part of the process in making sourdough starter. The good news is, there are many ways to use your “discarded” starter!
discard – get rid of (someone or something) as no longer useful or desirable.
I think the word discard should be changed to something more suitable like, your “set aside”, your “plan b”, your “starter 2.0”! The point is, you don’t have to throw it away! It still has use. Repurpose it!
Before feeding your Starter, decide on how many loaves you want to make. If you are not a novice, make as many loaves as you have time for. If you are new, I would suggest starting with 1 loaf so that you can get used to the process. Videos are provided.
The recipes for sourdough "discard" are endless. You can make flat bread, waffles, crackers, put in your baked goods, etc. Check out the video below to see what you can do with your discard and of course, feel free to research more!
videos
We have provided some Sourdough Bread Making Videos to help give you a better understanding and a visual in making Sourdough Bread.
Keep in mind the videos will have some differences and variations among them. Once you have your healthy starter, you can use a video provided or follow a video of your choice.
As you continue on your Sourdough Bread Baking journey, continue to research, watch, learn, bake, and develop your own techniques over time. We did! Enjoy the process.
a Good Book
Just wanted to share. This is the book I used in the beginning of my Sourdough Bread Making Journey. There are many others of course. I probably have more written notes on the sourdough bread page than printed text! The journey has definitely been worth it (smile)! Much success to you in sourdough!